For many travellers, the night sky is the most unforgettable part of an outback trip. Without city lights, the Milky Way stretches from horizon to horizon, and you can see the Magellanic Clouds, two neighbouring galaxies visible only from the Southern Hemisphere. Photographing it takes some planning, but the basics are easy to learn.
Find dark skies
Light pollution is the enemy of night sky photography. The further you are from towns and cities, the better. Australia has some officially recognised dark sky places:
- Warrumbungle National Park in NSW was recognised as Australia's first International Dark Sky Park.
- The River Murray International Dark Sky Reserve in South Australia.
But much of outback Australia, from the Flinders Ranges to the Nullarbor, offers superb skies.
Plan around the moon
A bright moon washes out the stars. Plan your shoots around the new moon, or after moonset and before moonrise. Moon phase apps and calendars help.
When to shoot
The bright galactic core of the Milky Way is best seen in the Southern Hemisphere from about autumn to spring. It rises in the early morning hours earlier in the season and is visible in the evening in winter. Check a star chart or app for your location and date.
Equipment
- Camera: any camera with manual controls, ideally with good high-ISO performance.
- Lens: a wide-angle lens with a wide aperture.
- Tripod: essential for long exposures.
- Remote or self-timer: to avoid camera shake.
- Head torch with red light: to protect your night vision.
- Warm clothes: desert nights can be very cold.
Camera settings
A common starting point:
- Manual mode and manual focus.
- Widest aperture your lens allows.
- An exposure of around 15 to 25 seconds with a wide lens. Longer exposures can blur stars into trails.
- A high ISO, adjusted for your camera's noise.
- Focus on a bright star using live view, then lock focus.
- Shoot in RAW for flexible editing.
Adjust from there, checking your results as you go.
Using a phone
Many phones have night modes that produce surprisingly good results. Use a small tripod or rest the phone on something stable, turn off the flash and give the phone time to capture the scene.
Composition
Include a foreground, such as a tree, a rock formation or your campsite, to give a sense of place. Light the foreground gently with a torch during the exposure, or blend exposures later. Respect sacred sites and photography restrictions.
Safety at night
- Scout your location in daylight.
- Watch for wildlife on roads when driving to and from locations.
- Stay away from cliff edges in the dark.
- Tell someone where you are going.
- Be aware of snakes in warm weather.
Drones
CASA sets rules for drones, including restrictions near people and at night, and national parks have their own rules. Check both before flying.
Night sky shoot checklist
0 of 6 done
Ticks are saved in this browser only.
Editing
Basic editing can bring out the Milky Way: adjust white balance, contrast and clarity, and reduce noise. Keep edits natural.
Respecting the night
Dark skies are a natural resource. Keep lights low at campsites, use red lights, and respect other campers enjoying the stars.
Seeing the southern sky
The Southern Hemisphere sky holds sights that northern observers never see. Look for the Southern Cross and its pointers, the Large and Small Magellanic Clouds, and the dark dust lanes of the Milky Way. Many Aboriginal cultures see the "Emu in the Sky" in those dark lanes, a figure that appears at certain times of year. Learning a few of these stories adds a new dimension to stargazing.
Star trails and timelapses
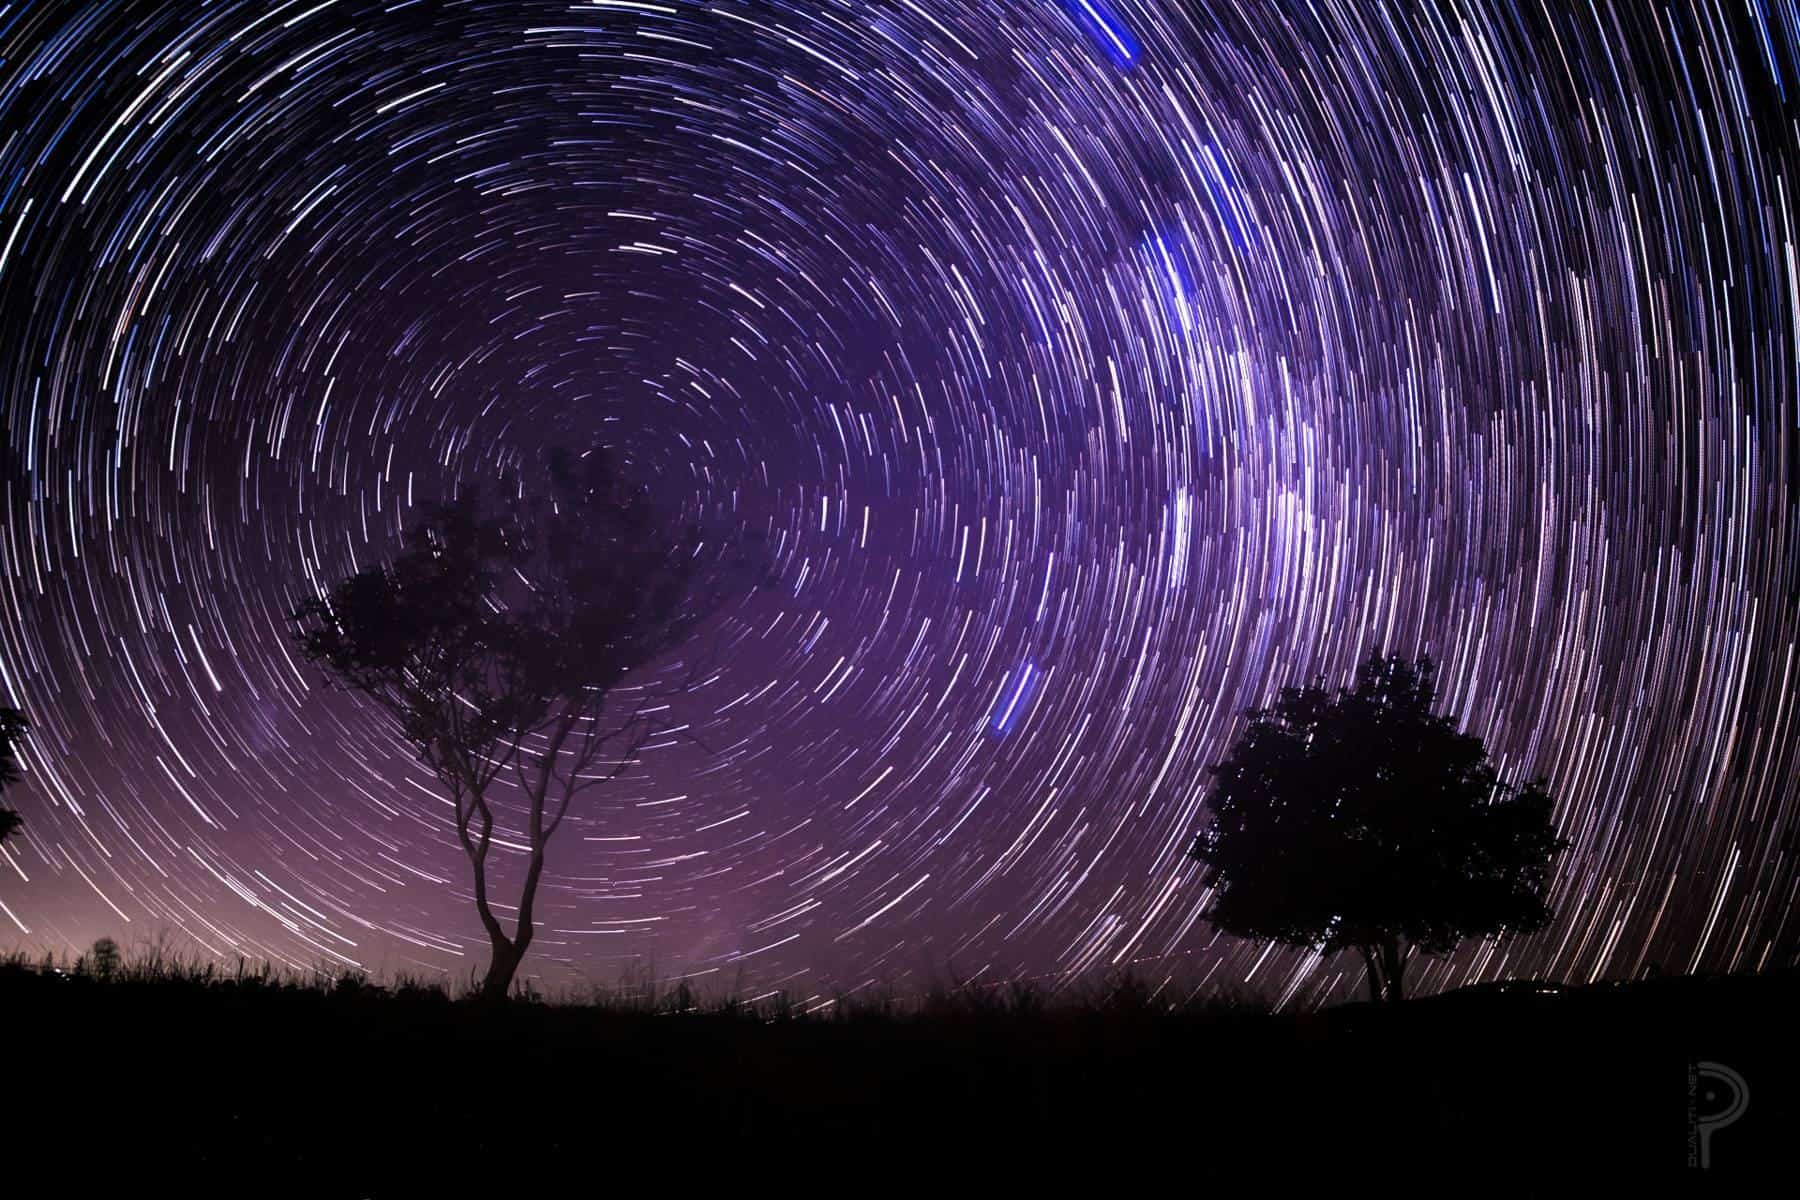
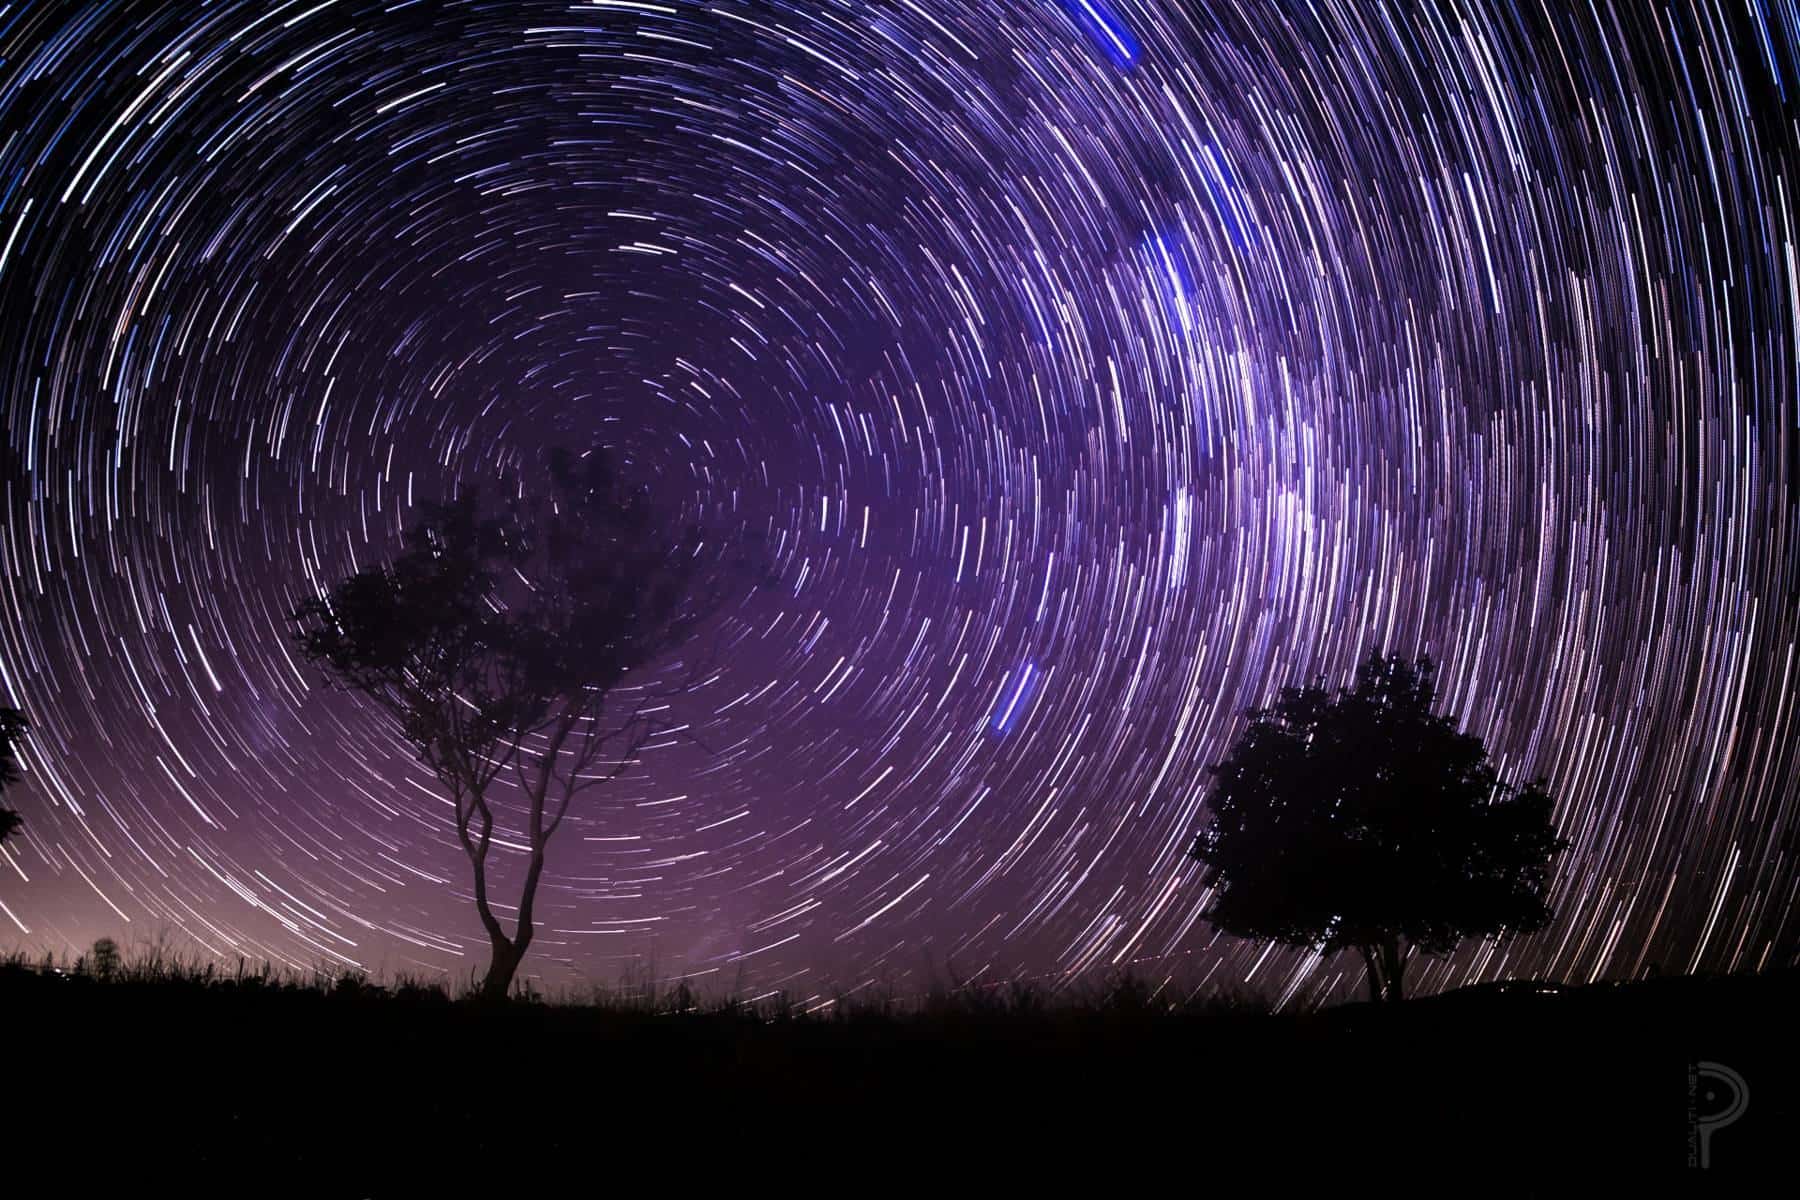
If you have more time, try star trails, combining many exposures to show the rotation of the sky around the south celestial pole. Timelapses can capture the movement of the Milky Way across the night. Both need a fully charged battery, plenty of memory and a stable tripod.
Before you go
Check the weather forecast for cloud cover, the moon phase and the times of moonrise and moonset. Charge batteries, clear memory cards and pack spares, as cold nights drain batteries quickly. Tell someone where you are going if you are heading out alone after dark.
Frequently asked questions
What lens is best for Milky Way photos?
A wide-angle lens with a wide maximum aperture lets in more light and captures more of the sky in each frame.
What is the Emu in the Sky?
A figure seen in the dark dust lanes of the Milky Way in many Aboriginal astronomical traditions, linked to seasonal knowledge.
When is the best time to see the Milky Way in Australia?
The bright centre of the Milky Way is generally best seen from about autumn to spring, roughly March to October, on moonless nights away from city lights.
Where are Australia's dark sky places?
Warrumbungle National Park in NSW was recognised as Australia's first International Dark Sky Park, and the River Murray area in South Australia has an International Dark Sky Reserve. Much of the outback also has excellent dark skies.
Can I photograph the Milky Way with a phone?
Many modern phones have night modes that can capture the Milky Way when mounted on a tripod. Results improve with dark skies and steady support.
What camera settings should I use for the Milky Way?
A common starting point is a wide aperture, a high ISO and an exposure of around 15 to 25 seconds on a wide lens, then adjust to your camera and conditions.
Can I fly a drone at night?
Drone rules are set by CASA, and national parks have their own rules. Check both before flying, especially at night.
Sources and further reading
Facts on this page were checked against these primary and official sources. Conditions change — confirm before you travel or buy.
- Warrumbungle National Park — NSW National Parks and Wildlife Service
- River Murray International Dark Sky Reserve — DarkSky International
- Moon phases — Bureau of Meteorology
- Drone rules — Civil Aviation Safety Authority